I posted yesterday about what I was doing in my hosta bed to (hopefully)
get rid of the Canadian Thistle for good. After taking the hosta out and digging up the thistle and other weeds, the little garden by my front door was ready to be amended with good soil and for the hosta to be replanted.
(click photos to enlarge)
 |
| This is where I left off the night before |
 |
| Let's add some good Miracle Grow garden soil |
 |
| .. and spread it out real nice |
 |
| ... until it looks like this. |
 |
| Make sure to get rid of the thistle and other weeds |
 |
| ... then take the hosta |
 |
| ... and start placing it in the flower bed |
 |
... and reposition as necessary.
(Warning: still step can take a LONG time) |
 |
| Move this one over here, and swap that one with this one |
 |
| ... until you think you have them all just right. |
 |
| Add a few pops of color with impatiens |
 |
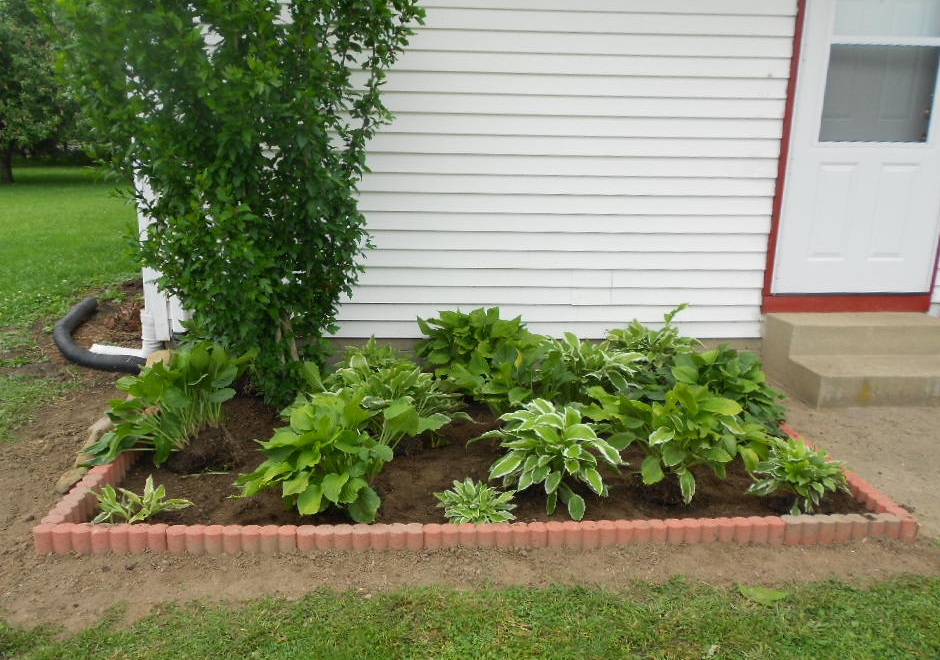
| ... and the hosta bed is done. |
 |
| Give it a bit of a drink before retiring for the night |
 |
| ... and wake up to bright and cheerful plants. |
All that's left to do now is mulch, and I think I'll wait a day or two to let everything settle in good first.
I fixed this particular bed last year, but life got in the way and I didn't tend to it as much as it needed, and I paid the price for it. It took a bit of work, but I'm very happy with the way it turned out. If the Canadian Thistle doesn't get a foothold again, it should be much easier to maintain after I get the mulch in.
More projects to follow!


4 comments:
Very, very nice! That is a lot of work!
Gorgeous! Your hard work paid off beautifully! Now if I could just make the time to do mine.
Very pretty. Now go prop your feet up with a cool drink and a crochet project. Time to relax :)
This is great! I just bought some hosta plants and was trying to decide where to put them. Thanks.
Post a Comment